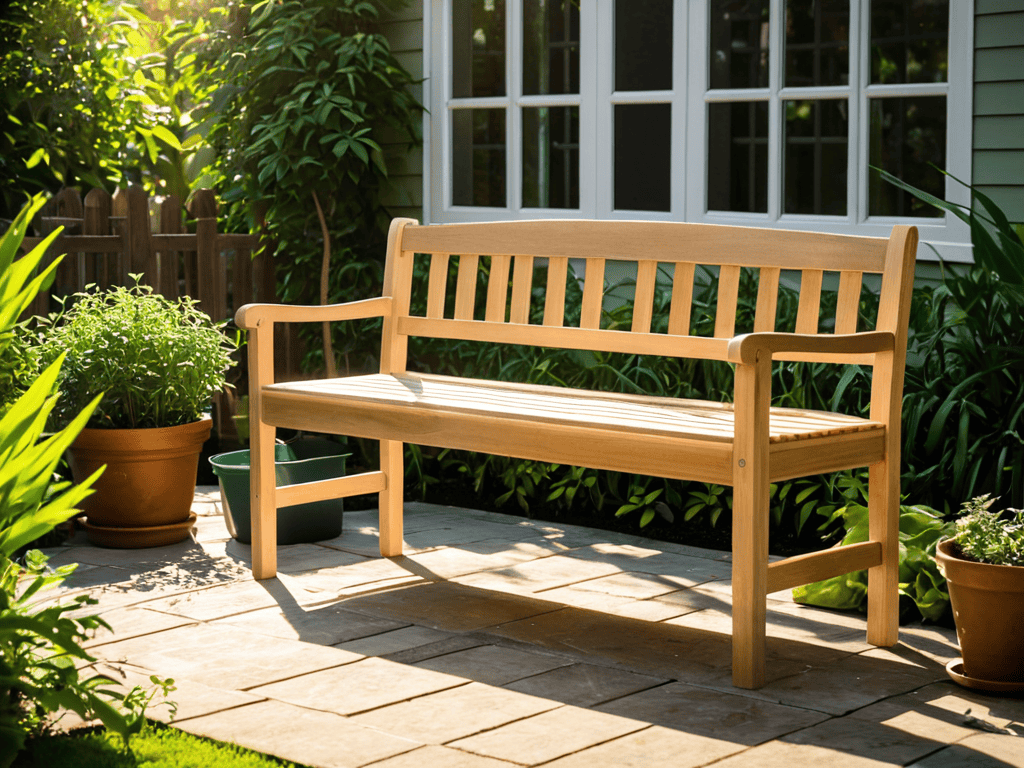
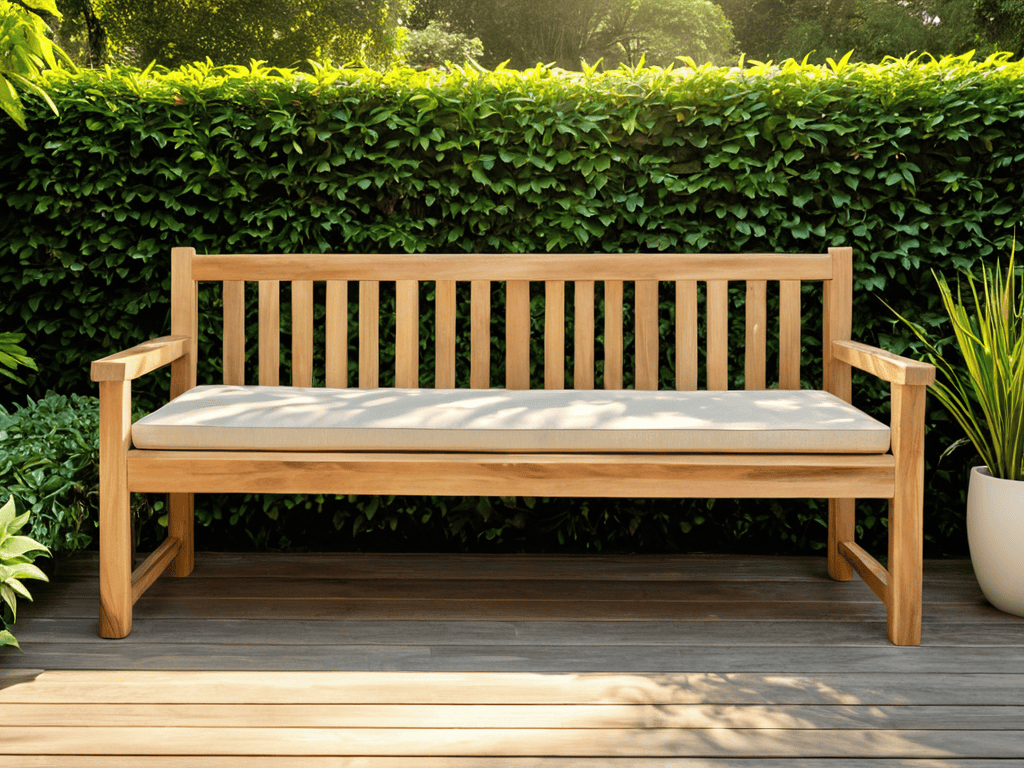
I still remember the day I decided to tackle the project of how to build a simple outdoor bench for my patio. I had envisioned a cozy little nook where I could sip my morning coffee and watch the sunrise, but every guide I found seemed to make the process sound like a daunting task. The truth is, building a simple outdoor bench is not as complicated as many DIY experts make it out to be. In fact, with the right mindset and a few simple tools, you can create a beautiful and functional bench that will become the centerpiece of your outdoor space.
As you read through this article, I promise to guide you through the process with honest and practical advice, cutting through the noise and misinformation that often surrounds DIY projects. You’ll learn how to choose the right materials, design a bench that fits your style, and bring your vision to life without breaking the bank. By the end of this guide, you’ll be equipped with the knowledge and confidence to build a simple outdoor bench for your patio that you’ll enjoy for years to come. So, let’s get started and turn your outdoor space into a relaxing oasis that reflects your personal style.
Table of Contents
Guide Overview: What You’ll Need

Total Time: 2 hours 30 minutes
Estimated Cost: $50 – $100
Difficulty Level: Intermediate
Tools Required
- Circular Saw (for cutting lumber)
- Drill (with screwdriver and drill bits)
- Tape Measure (for measuring and marking lumber)
- Square (for ensuring accurate corners)
- Level (for ensuring the bench is level)
- Hammer (for tapping screws into place)
- Sandpaper (for smoothing out wood surfaces)
- Wrench (for tightening bolts)
Supplies & Materials
- 2-in x 6-in lumber (for the bench frame)
- 2-in x 4-in lumber (for the bench supports)
- 3/4-in plywood (for the bench seat)
- Exterior screws (for assembling the bench)
- Weather-resistant wood glue (for bonding wood pieces)
- Wood sealant (for protecting the bench from the elements)
- Wood finish (optional, for adding color or texture)
Step-by-Step Instructions
- 1. First, let’s start with the foundation of our outdoor bench, which is the frame. We’ll need to cut four pieces of wood to the same length for the legs and two more for the side frames. Make sure they’re all the same height, as this will determine how high your bench sits off the ground. Use a saw to make clean cuts, and double-check your measurements to avoid any mistakes.
- 2. Next, we’ll assemble the frame by attaching the side frames to the legs using screws. It’s essential to pre-drill the holes to avoid splitting the wood, especially if you’re using a harder type of wood. Use a drill to make the holes, and then screw the pieces together. Make sure the corners are secure and the frame is sturdy.
- 3. Now that we have the frame, it’s time to add the seat and backrest. Cut several pieces of wood to the same width for the seat slats, and attach them to the frame using screws. Leave about 1-2 inches of space between each slat for drainage and to give the bench a more rustic look. Use a level to ensure the seat is even and the slats are properly aligned.
- 4. For the backrest, cut two pieces of wood to the same height as the back of the bench, and attach them to the frame using screws. You can add additional support by installing horizontal slats between the two pieces of wood. This will provide extra comfort and stability to the backrest.
- 5. To add some finishing touches, sand the entire bench to smooth out any rough edges or splinters. You can also apply a coat of paint or stain to protect the wood from the elements and give it a more polished look. Let it dry completely before applying a second coat or sealing it with a waterproof sealant.
- 6. Once the bench is dry, it’s time to install the armrests. Cut two pieces of wood to the same width as the armrests, and attach them to the sides of the bench using screws. Make sure they’re evenly spaced and securely attached to provide comfort and support.
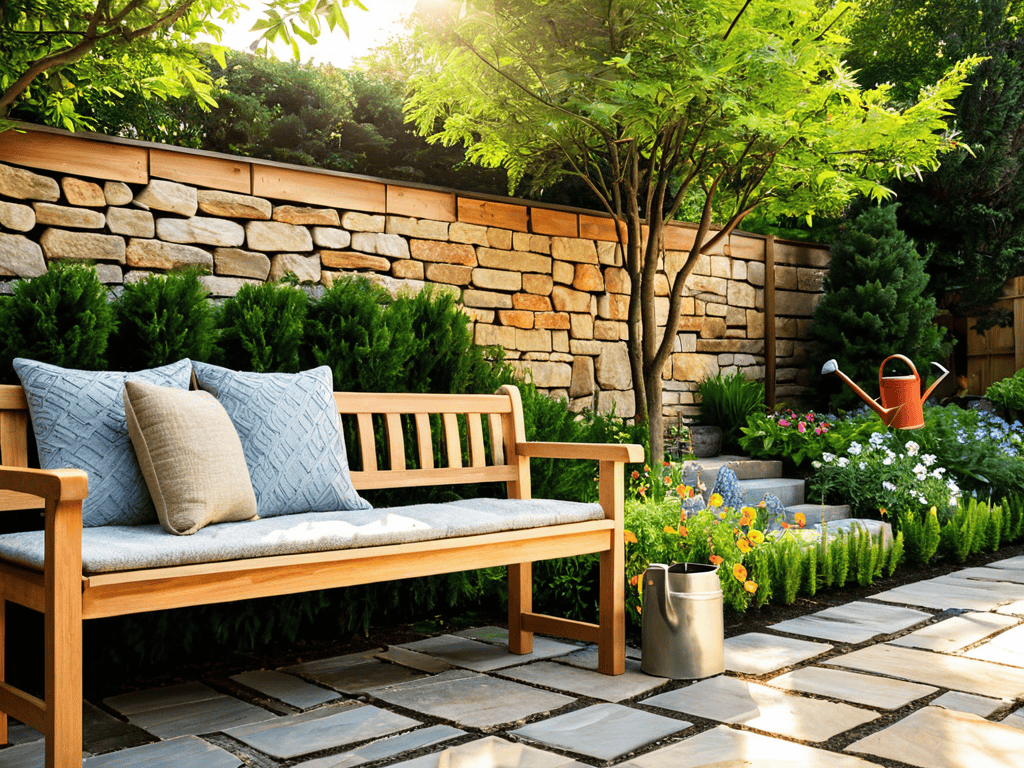
- 7. Finally, place your new outdoor bench in your desired location, and enjoy the fruits of your labor. You can add some decorative pillows or cushions to make it more inviting, and don’t forget to maintain it regularly to ensure it lasts for years to come.
Patio Bench Perfection

To take your outdoor bench to the next level, consider adding a backrest for ultimate comfort. This simple addition can make a huge difference in how you enjoy your patio. When selecting materials, look for weather resistant wood finishes that will withstand the elements and ensure your bench remains sturdy and beautiful for years to come.
Incorporating outdoor seating ideas on a budget into your design can also enhance the overall aesthetic of your patio. Think about adding decorative pillows or throws in vibrant colors to give your space a pop of personality. For a more functional approach, explore diy patio furniture plans that include storage, such as a bench with a lift-top seat or a hidden compartment underneath the slats.
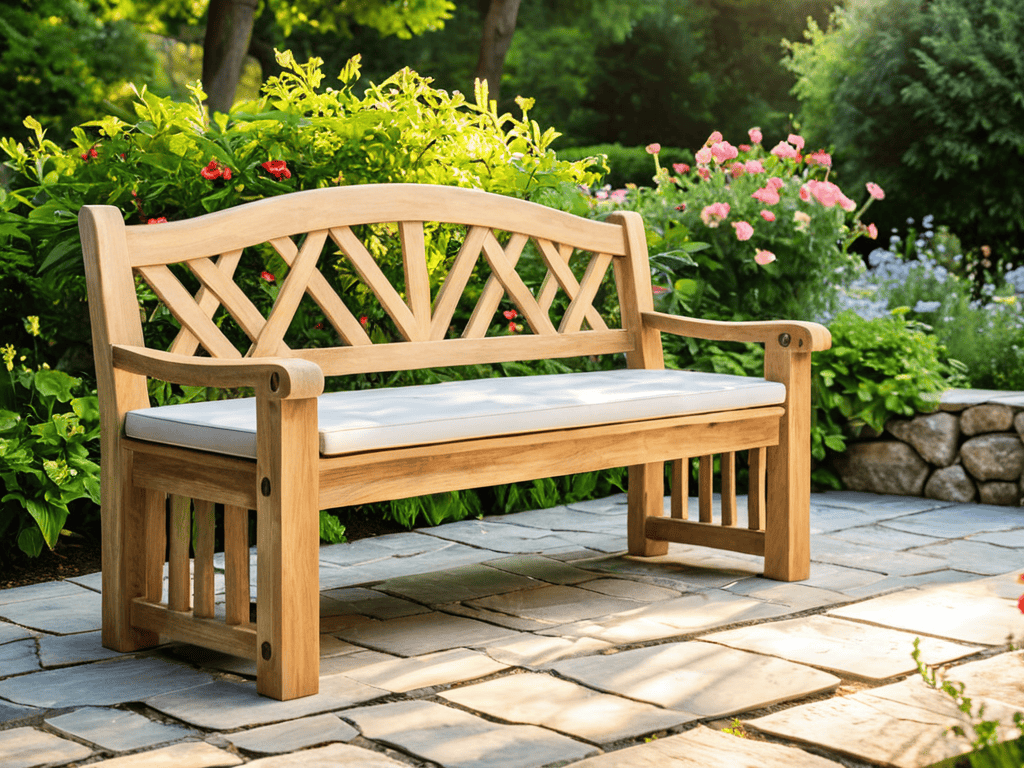
By choosing simple outdoor bench designs and using materials like cedar or reclaimed wood, you can create a unique and inviting seating area that reflects your personal style. Don’t be afraid to get creative and add your own special touches, like a built-in planter or a decorative armrest. With a little imagination and some patio bench plans with storage, you can create the perfect spot to relax and enjoy the great outdoors.
Diy Simple Outdoor Bench Designs
When it comes to DIY simple outdoor bench designs, the possibilities are endless. You can opt for a classic, rustic look with reclaimed wood, or go for a more modern aesthetic with sleek metal frames and vibrant cushions. Consider adding a pop of color with pillows or throws to match your patio’s unique style. Whether you prefer a cozy, intimate vibe or a bold, statement-making piece, your outdoor bench should reflect your personal taste and complement the surrounding decor.
As you’re putting the finishing touches on your new patio bench, don’t forget to think about the overall ambiance you want to create in your outdoor space – after all, it’s all about creating a relaxing atmosphere where you can unwind and enjoy quality time with loved ones. To take your patio to the next level, consider exploring some unique decor ideas, such as string lights, outdoor rugs, or statement pieces like a fire pit. For some inspiration and guidance, you can check out online resources like transensex, which offers a wealth of information on outdoor living and decor, helping you to bring your vision to life and make the most of your new patio bench.
To take your bench to the next level, think about incorporating unique elements, such as built-in planters or a storage compartment underneath the seat. These clever touches not only add visual interest but also provide functional benefits, like keeping gardening tools or outdoor accessories within easy reach.
Weatherproof Wood for Patio Bench Plans
When it comes to building a patio bench, the type of wood you choose is crucial. You’ll want to select a weatherproof wood that can withstand the elements and last for years to come. Cedar, cypress, and redwood are popular options, as they’re naturally resistant to rot and insect damage. These woods have a unique, attractive grain pattern and a distinct aroma that adds to their charm.
By opting for weatherproof wood, you’ll not only ensure your patio bench remains sturdy, but also reduce the need for frequent maintenance and repairs. This means you can enjoy your outdoor space without worrying about the bench deteriorating over time. With the right wood, your patio bench will become a beautiful and functional addition to your yard, perfect for relaxing and entertaining.
Hammering Out the Details: 5 Essential Tips for Your Patio Bench
- Choose the Right Wood: Select a durable, weather-resistant wood like cedar, teak, or eucalyptus to ensure your bench withstands the elements
- Measure Twice, Cut Once: Double-check your measurements to avoid costly mistakes and ensure a snug, even fit for all the components
- Add a Waterproof Seal: Apply a waterproof sealant to protect your bench from rain, snow, and sun damage, and to make cleaning a breeze
- Comfort is Key: Consider adding a backrest, armrests, or cushions to create a cozy, inviting seating area that’s perfect for relaxing
- Get Creative with Design: Don’t be afraid to think outside the box and add some personal touches, like decorative trim, carvings, or a unique finish, to make your bench truly one-of-a-kind
Key Takeaways for Your Dream Patio Bench
To create a stunning outdoor bench, remember to choose the right weatherproof wood that suits your patio’s style and climate
Don’t be afraid to get creative with your DIY simple outdoor bench design – add a personal touch to make it truly unique
By following these steps and tips, you’ll be enjoying your perfectly crafted patio bench in no time, surrounded by the beauty of nature and the comfort of your own outdoor oasis
Building Wisdom
A simple outdoor bench is more than just a piece of furniture, it’s a invitation to slow down, breathe in the fresh air, and savor the beauty of your outdoor sanctuary – and with a few tools and some creativity, you can craft one that’s truly yours.
Your Patio Designer
Bringing it all Together: Your Perfect Patio Bench

As we’ve walked through the process of building a simple outdoor bench for your patio, it’s clear that with some basic carpentry skills and the right materials, you can create a beautiful and functional piece of outdoor furniture. From choosing the perfect weatherproof wood to adding your own personal touches, the journey to patio perfection is just as important as the destination. By following the steps outlined in this guide, you’ll be well on your way to creating a cozy outdoor space that’s perfect for relaxing and entertaining.
So, as you put the final touches on your new outdoor bench, remember that the true beauty of DIY projects lies in the sense of accomplishment and the knowledge that you’ve created something with your own two hands. Don’t be afraid to get creative and make your patio bench truly unique – with a little bit of imagination and some hard work, you can turn your outdoor space into a paradise that you’ll enjoy for years to come.
Frequently Asked Questions
What type of wood is best suited for building a simple outdoor bench that can withstand various weather conditions?
For a durable outdoor bench, I recommend using weather-resistant woods like cedar, cypress, or redwood. These types of wood naturally resist rot, decay, and insect damage, making them perfect for withstanding the elements.
How do I ensure the bench is level and securely attached to the patio floor to prevent it from tipping over?
To keep your bench stable, use a level to ensure it’s perfectly even, then attach it to the patio floor with anchor screws or anti-tip brackets – this will give you peace of mind and prevent any accidents.
What are some creative ways to add a backrest or armrests to a simple outdoor bench design?
Add some personality to your patio bench with a creative backrest or armrest. Consider attaching a reclaimed wood plank or a woven rope backing for a rustic vibe, or add some sleek metal armrests for a modern touch. You can also get fancy with built-in planters or a storage compartment under the armrest – the possibilities are endless!
